





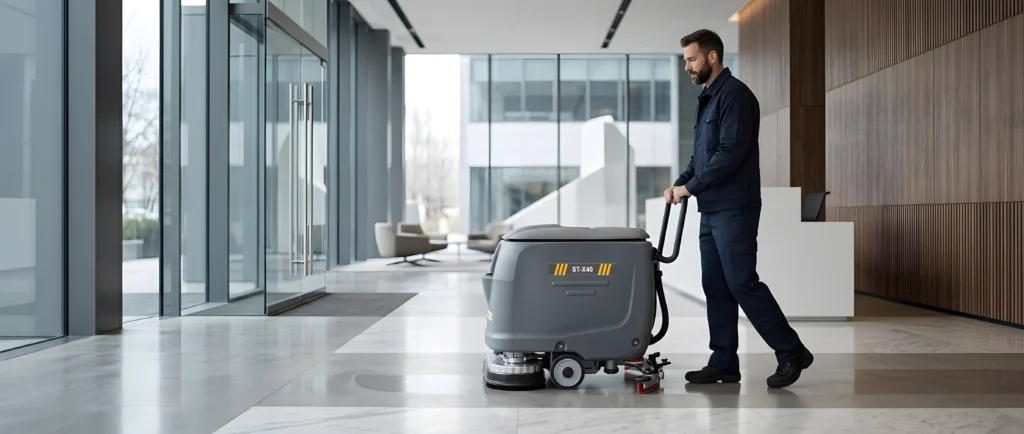
How to Use a Commercial Floor Scrubber: Step-by-Step Guide
A commercial floor scrubber washes hard floors with a rotating brush or pad and collects the dirty water through a rear squeegee and vacuum system. Once you understand the preparation, cleaning, and shutdown steps, it becomes much easier to get consistent results.
This guide covers the general process for using a walk-behind commercial floor scrubber. Always check your machine’s operator manual and the floor manufacturer’s cleaning instructions before starting.
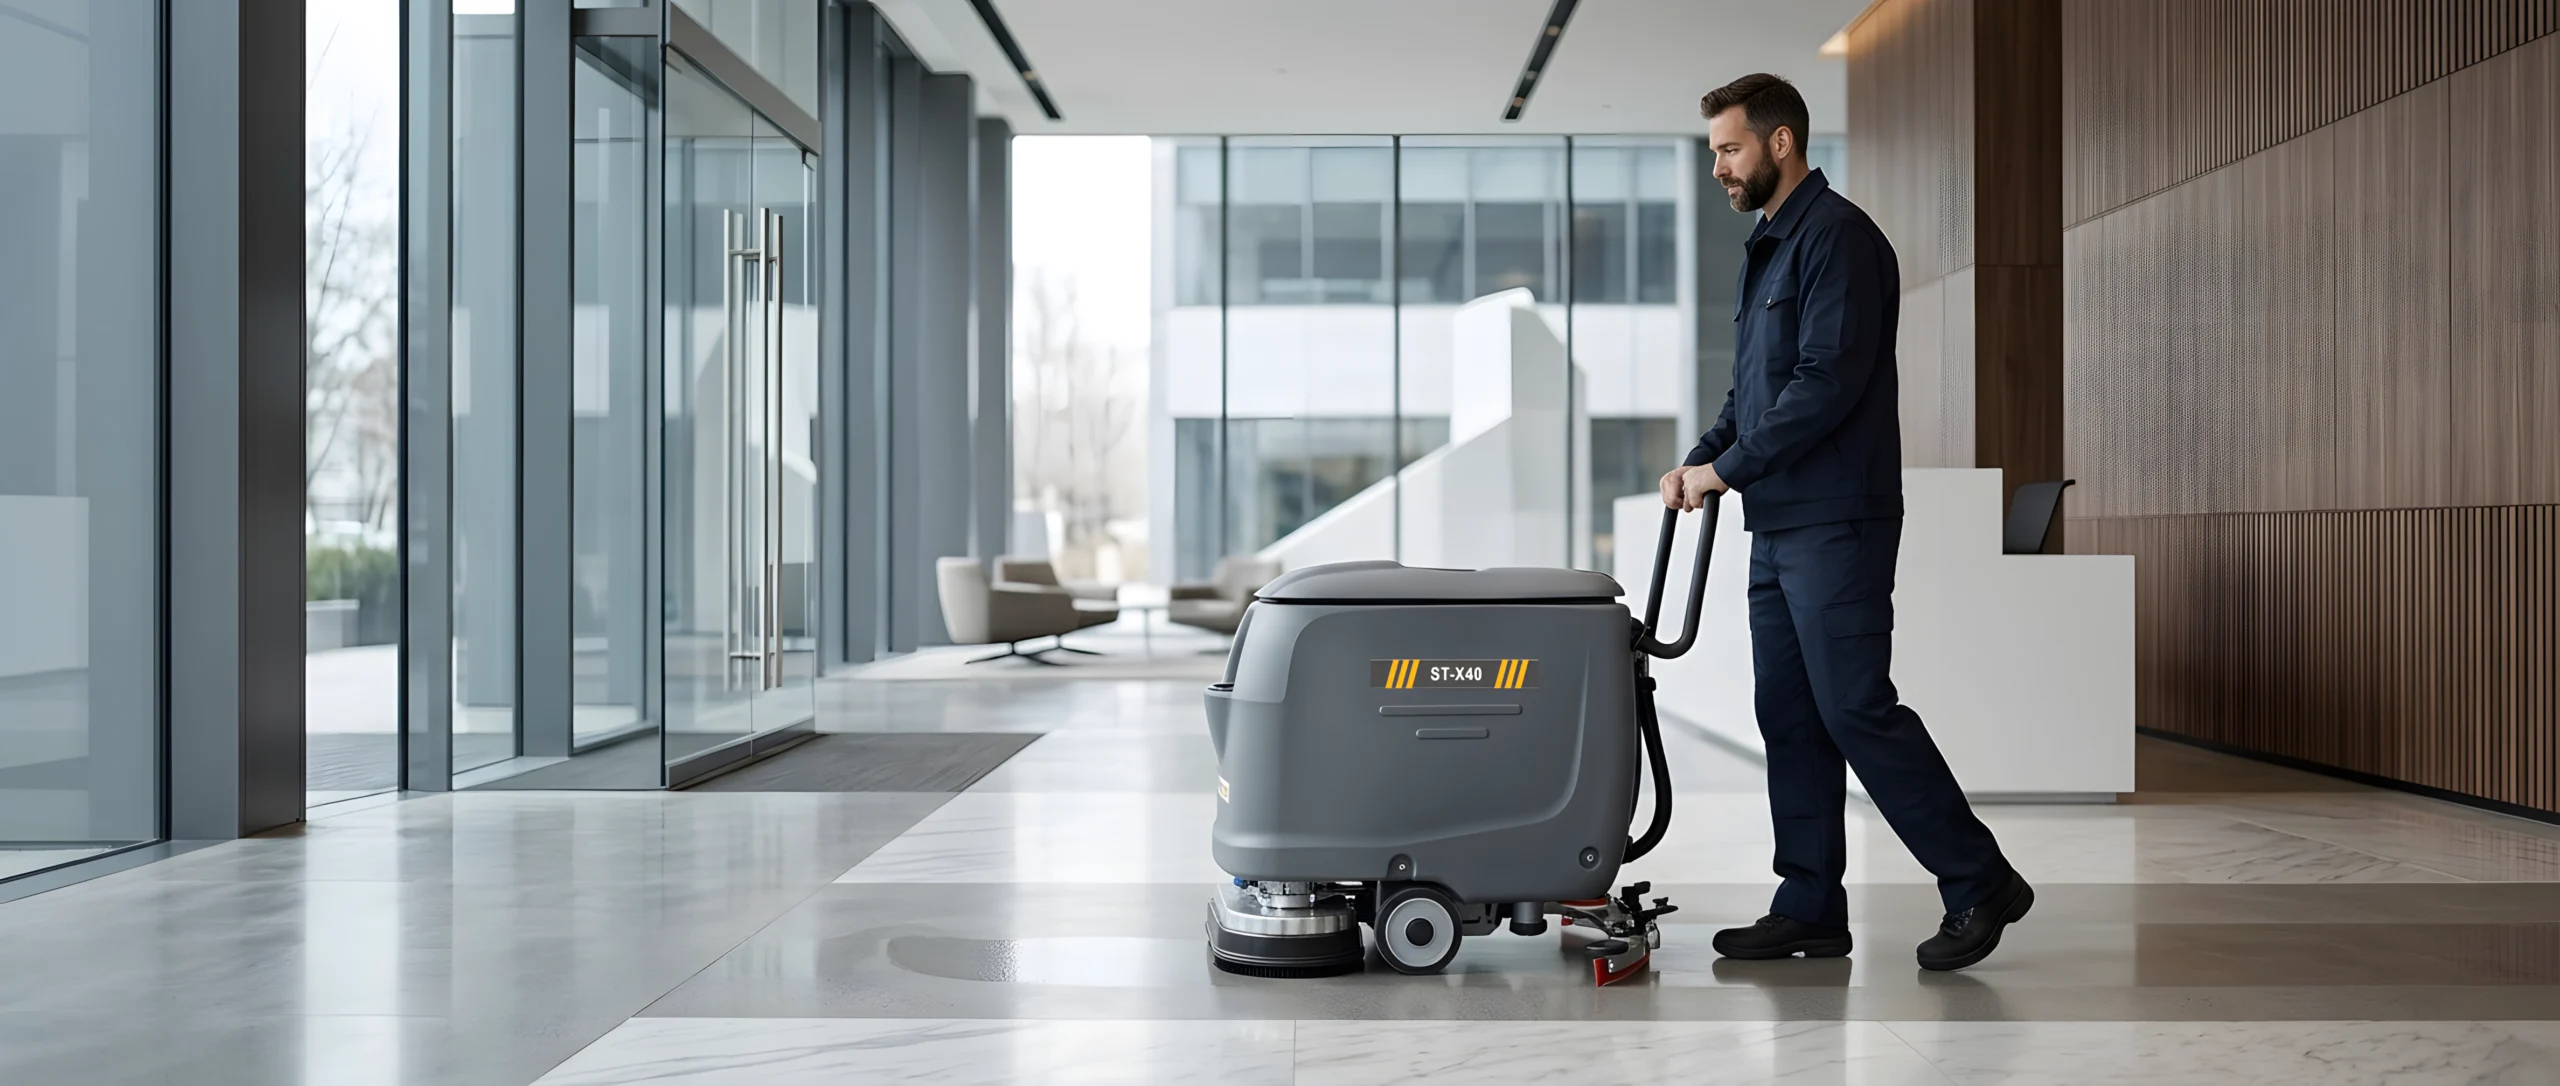
Before You Start: Prepare the Floor and Machine
1. Clear the Cleaning Area
Move small objects out of the way and remove loose debris, such as packaging, stones, and large pieces of dirt. If the floor has significant dry debris, sweep or vacuum it first. This helps prevent debris from interfering with the brush, squeegee, or suction path. nilfisk.com
Place appropriate warning signs where people may walk through the cleaning area.
2. Inspect the Scrubber
Before turning on the machine, check:
- Battery charge or power connection
- Brush or pad condition and secure installation
- Squeegee blade condition and position
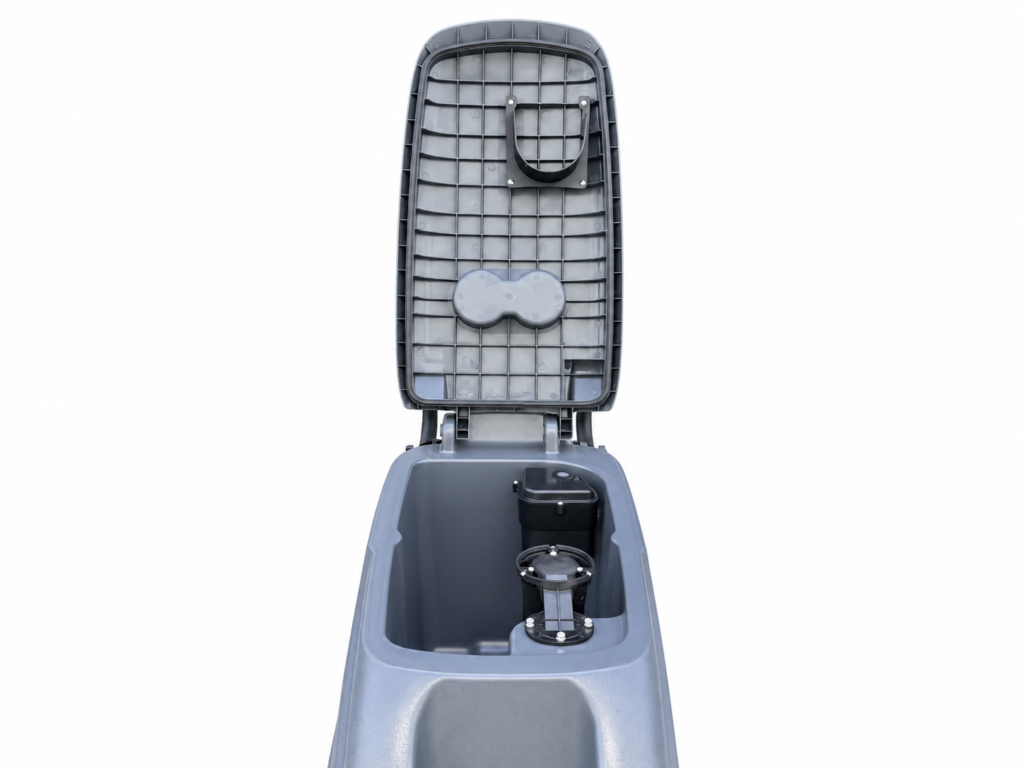
- Recovery tank level
- Hoses and filters for visible blockages
- Wheels and controls for obvious damage
Replace worn parts and resolve faults before cleaning. A damaged or dirty squeegee can leave water trails behind the machine. Kärcher
3. Fill the Solution Tank
Add clean water and a detergent approved for both your floor and automatic scrubber. Follow the detergent label for dilution. Use a low-foam product where required by the machine manufacturer; excessive foam can affect the recovery system. Never mix cleaning chemicals unless their manufacturers explicitly instruct you to do so. ENGLISH
How to Operate a Commercial Floor Scrubber
Step 1: Select the Right Brush or Pad
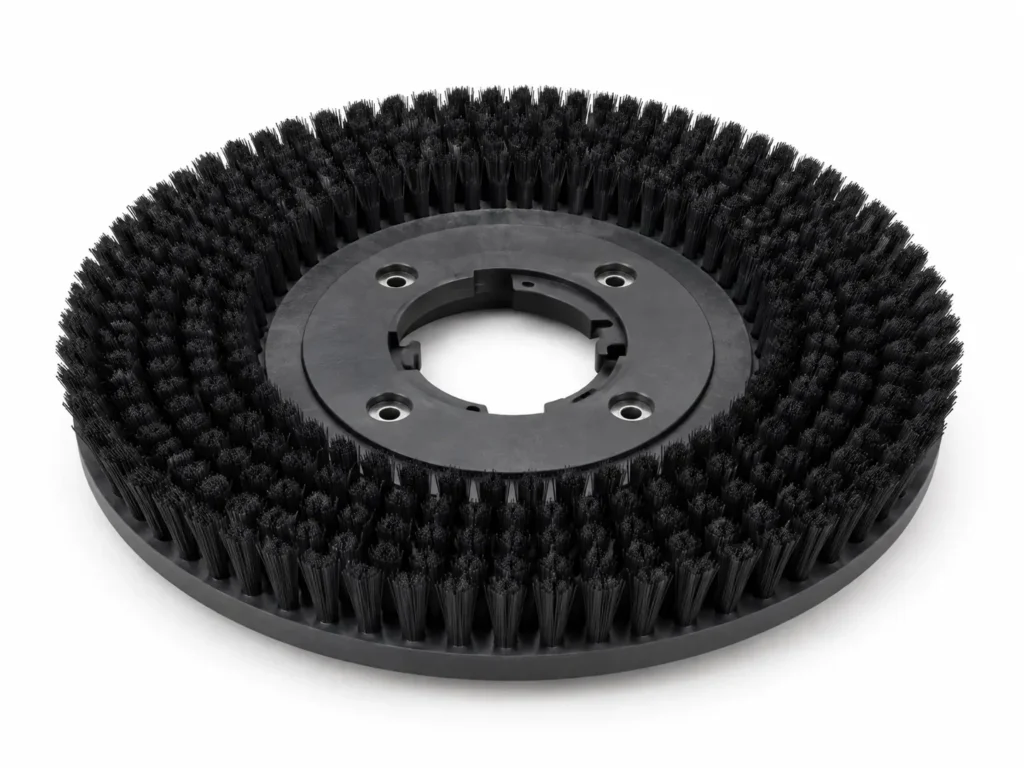
Choose a brush or pad suited to the floor material and soil level. Test it in a small, inconspicuous area if you are unsure whether it could mark the surface or damage a floor finish.
Step 2: Set Up the Cleaning Functions

Position the machine at the starting point. Following its control instructions, lower the scrub deck and squeegee, then activate the brush, solution flow, and vacuum functions needed for normal cleaning.
Start with a moderate solution setting. Adjust it only after checking the cleaning result and how much water remains on the floor.
Step 3: Clean in Straight, Overlapping Passes

Move forward at a steady pace. Make straight passes with a slight overlap so that you do not leave uncleaned strips. Watch the floor immediately behind the squeegee: it should look clean, with the dirty solution recovered rather than left in puddles. Kärcher also recommends slightly overlapping strokes in its floor-cleaning guidance. Kärcher
Slow down around corners and obstacles. Check the operator manual before moving backward, as the correct brush and squeegee positions vary by machine.
Step 4: Check the Result as You Work
After the first few passes, look for:
- Water trails: Check the squeegee blade, hose, and recovery tank.
- Dirty strips: Increase overlap and inspect the brush or pad.
- Excessive foam: Check the detergent type and dilution.
- Poor pickup: Check that the vacuum is on and the recovery system is clear.
For stubborn soil, a second pass may be needed. Follow the floor and chemical manufacturers’ instructions if a detergent requires dwell time; do not allow the solution to dry on the floor.
Step 5: Empty the Recovery Tank When Needed
Stop at an approved disposal point when the recovery tank approaches its indicated limit or the machine alerts you. Empty it according to your site’s wastewater rules, then resume cleaning. Do not continue operating with a full recovery tank.
What to Do After Cleaning
Turn off the cleaning functions and park the machine according to its manual. Empty and rinse the recovery tank. Clean debris from the brush or pad, wipe the squeegee blades, and inspect the suction path. Allow the recovery tank to air out as directed by the manufacturer, then charge the battery using the specified procedure. Regular attention to tanks, filters, hoses, and squeegees helps maintain water pickup. nilfisk.com
Common Mistakes to Avoid
| Mistake | Likely result | Better approach |
|---|---|---|
| Skipping loose-debris removal | Debris can obstruct or disrupt cleaning | Sweep or vacuum heavily littered areas first |
| Using an unsuitable pad or brush | Poor cleaning or possible floor damage | Match the tool to the floor and test a small area |
| Using too much detergent | Foam or residue | Follow the product’s dilution instructions |
| Moving too quickly | Missed soil or water left behind | Maintain a steady pace and inspect the first passes |
| Storing a dirty machine | Odor and reduced performance | Empty, rinse, inspect, and clean it after use |
Frequently Asked Questions
Do I need to sweep before using a floor scrubber?
If there is significant loose debris, yes. Remove it before scrubbing unless your specific machine is designed to collect that type and amount of debris.
Can I use any detergent in a commercial floor scrubber?
No. Check the machine manual, detergent label, and floor-care requirements. Use the specified dilution and a product suitable for automatic scrubbers.
Why is my floor scrubber leaving water behind?
Start by checking whether the vacuum is running, the recovery tank is full, the suction path is blocked, or the squeegee blades are dirty, worn, or incorrectly positioned.
How often should I clean the recovery tank?
Empty and rinse it after each cleaning session, or sooner when it reaches its operating limit. Follow your machine’s maintenance instructions.
Is a walk-behind or ride-on scrubber better?
The answer depends on floor area, aisle width, obstacles, available storage, and cleaning frequency. A walk-behind model is often easier to maneuver in tighter spaces, while a ride-on model can reduce operator walking over larger areas.
Find a Scrubber for Your Facility
The right machine should fit your floor area, aisle width, surface type, and daily cleaning schedule. Explore our walk-behind floor scrubbers and ride-on floor scrubbers, or send us your floor area and application for a model recommendation.
