






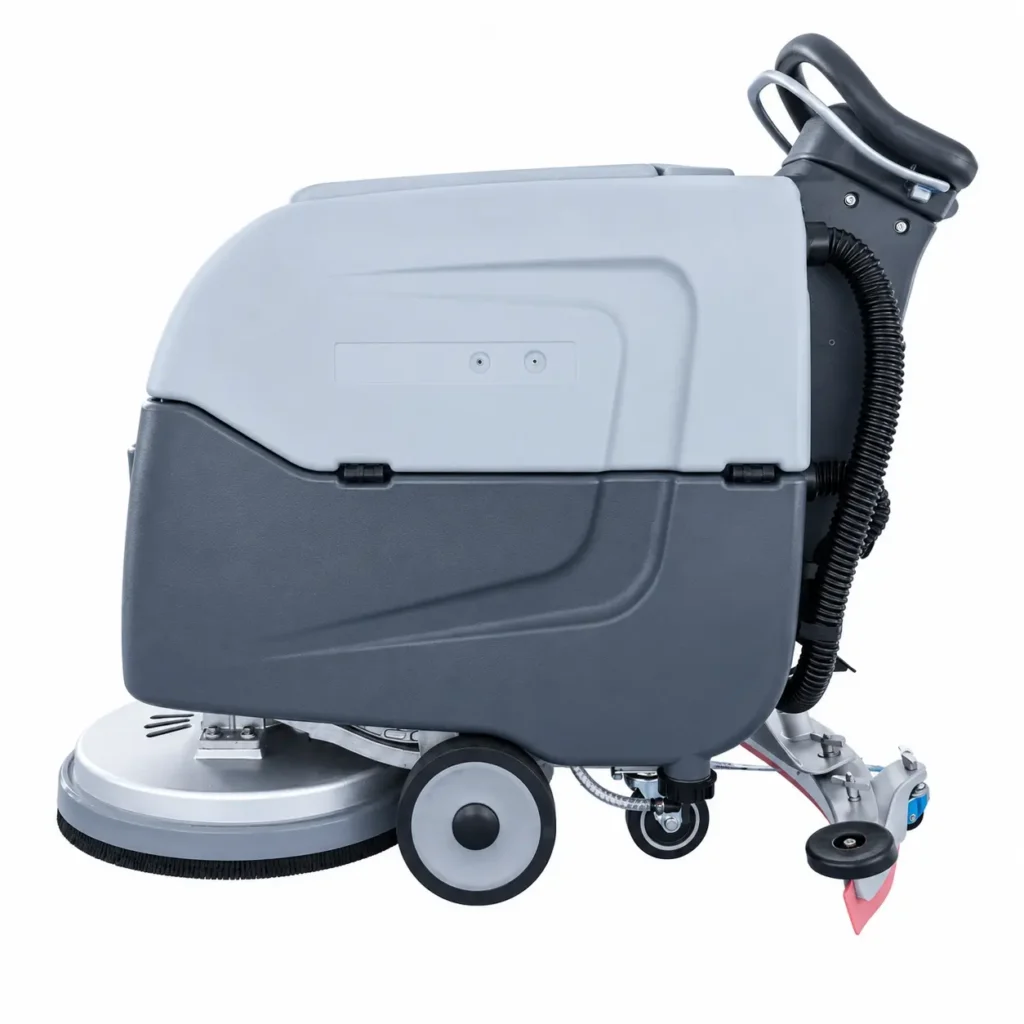
Industrial floor scrubber maintenance doesn’t have to feel like a chore reserved for specialized technicians. With a consistent routine and a handful of practical habits, you can keep your machine running at peak performance, extend its lifespan, and avoid the costly downtime that comes from neglected equipment. Whether you manage a warehouse, a hospital corridor, or a retail distribution center, the reliability of your scrubber directly affects the cleanliness of your floors and the safety of your team. This guide breaks down effortless maintenance strategies that fit into any busy schedule.

Why a Maintenance Routine Matters
A floor scrubber is a significant investment, but its value depends entirely on how well it is cared for over time. Machines that receive regular attention not only clean more effectively but also consume fewer pads, brushes, and cleaning solutions. Dirt buildup, hardened debris, and dried chemical residue force motors to work harder, which leads to premature wear on squeegees, vacuum systems, and drive wheels. A simple ten-minute inspection at the end of each shift can prevent hundreds of dollars in repairs down the line.
Beyond cost, routine upkeep influences safety. Worn squeegee blades leave water streaks that create slip hazards, while clogged recovery tanks can leak dirty solution onto finished floors. By treating maintenance as a daily habit rather than an occasional emergency, operators preserve both the machine and the environment it cleans.
Daily Industrial Floor Scrubber Maintenance Tasks
The easiest way to stay ahead of breakdowns is to perform a few simple tasks every time the machine is used. These steps require no special tools and can be completed by the operator before or after a shift.
Empty and Rinse the Recovery Tank
Dirty water left in the recovery tank overnight becomes a breeding ground for bacteria and a source of unpleasant odors. More importantly, sludge can settle at the bottom and clog the vacuum intake or float shut-off mechanism. Empty the tank after every use, rinse it with clean water, and leave the lid open to allow air circulation. If your facility uses a detergent with high foaming properties, inspect the tank for foam residue that may dry into a film.
Remove Debris from Squeegee Blades
Squeegees are responsible for leaving floors dry, but they collect hair, tape, plastic wrap, and small debris during operation. Inspect both the front and rear blades after each cleaning session. Use a damp cloth to wipe away buildup, and check the blade edges for nicks or rounded wear. A blade that is no longer making full contact with the floor should be rotated or replaced.
Check the Brush or Pad Condition
The scrub head does the heavy lifting, and its condition directly affects cleaning quality. Remove the brush or pad driver, rinse away embedded dirt, and inspect the bristles or pad surface for flattening or glazing. A worn brush reduces scrubbing pressure and leaves streaks behind. Rotate brushes periodically to promote even wear.
Weekly Deep-Cleaning Practices
While daily tasks keep the machine functional, a weekly session address hidden areas that are easy to overlook.
Flush the Solution Lines
Cleaning solution travels through narrow hoses and nozzles that can accumulate mineral deposits or chemical residue. Run clean water through the solution system for a few minutes while the machine is parked over a drain. If your facility has hard water, consider using a descaling solution once a month to break down calcium buildup.
Clean the Vacuum Shut-Off Float
The float inside the recovery tank prevents water from reaching the vacuum motor. Over time, it can become sticky or coated with debris, causing it to stick open or closed. Remove the float assembly, rinse it thoroughly, and test its movement before reinstalling.
Inspect Batteries and Charging Connections
For battery-powered scrubbers, weekly inspection of cables, terminals, and water levels is essential. Corroded terminals reduce charging efficiency and can lead to uneven battery performance. Wipe terminals with a dry cloth, check for frayed cables, and ensure the charger is storing the machine’s batteries at the manufacturer’s recommended voltage.
Monthly Preventative Checks
Once a month, set aside extra time for a more thorough review of mechanical components. This is also an ideal moment to document any performance changes or unusual noises.
Examine Drive Wheels and Casters
Hair, string, and debris can wrap around drive shafts and caster axles, increasing resistance and straining the drive motor. Remove visible wrappings, inspect wheels for flat spots, and verify that all bolts and fasteners are secure.
Test the Squeegee Adjustment
Proper squeegee height and angle are critical for water pickup. With the machine on a flat surface, lower the squeegee and check that both ends contact the floor evenly. Adjust the tilt and height according to your user manual. An improperly adjusted squeegee leaves water behind and forces the operator to make multiple passes.
Lubricate Moving Parts
Consult your equipment manual to identify pivot points, hinges, and linkages that require lubrication. Use only the recommended grease or oil, and wipe away any excess to prevent dust from sticking to lubricated surfaces.
Seasonal and Storage Considerations
If your facility operates seasonally or if the scrubber will sit unused for an extended period, take extra precautions before storage. Fully charge the batteries, top off water levels if applicable, and store the machine in a dry, temperature-controlled area. Remove the brushes or pads so bristles do not become permanently compressed. Drain all solution and recovery tanks completely to avoid freezing or bacterial growth.
When bringing a machine out of storage, perform a full inspection before the first use. Check tire pressure, test the vacuum motor, and run a short cleaning cycle with plain water to flush out any residual debris.
Building a Simple Maintenance Schedule
The most effective industrial floor scrubber maintenance programs are the ones that actually get completed. Create a checklist that matches your equipment’s operational hours and assigns each task to a specific shift or operator. Laminate the checklist and keep it near the charging station for easy access. When operators see maintenance as part of their regular duties rather than an extra task, compliance improves dramatically.
Consider tracking maintenance history in a simple logbook or digital spreadsheet. Record battery water refills, blade rotations, filter replacements, and any repairs. This documentation helps identify recurring issues and supports warranty claims if needed.
Troubleshooting Common Issues
Even with excellent maintenance, occasional problems arise. Knowing how to respond quickly keeps minor issues from escalating.
Streaks or water left on the floor: Check the squeegee blades for wear, verify the adjustment, and clean the vacuum hose for blockages.
Reduced scrubbing pressure: Inspect the brush for wear, confirm the brush motor is engaging, and check for loose belts if applicable.
No solution flow: Verify the solution tank has adequate fluid, clean the inline filter, and flush the solution lines.
Unusual noises: Stop the machine immediately and inspect the brush deck, drive wheels, and vacuum fan for obstructions.
Final Thoughts on Pristine Performance
A well-maintained industrial floor scrubber is more than just a clean machine—it’s a tool that upholds your facility’s standards with every pass. The habits outlined here take only minutes each day but deliver lasting benefits in reliability, safety, and operating cost. By integrating industrial floor scrubber maintenance into your daily workflow, you protect your investment and ensure that every shift starts with equipment ready to perform. The key is consistency: small, regular actions compound into a machine that rarely fails and always delivers the spotless results your floors deserve.